
Skylight Sun Shade
6’ x 8’ Paper Straw Space Frame with Vellum Skin
INTRODUCTION
The Skylight Sun Shade is a practical application for this extremely light weight, elegant space frame structure.
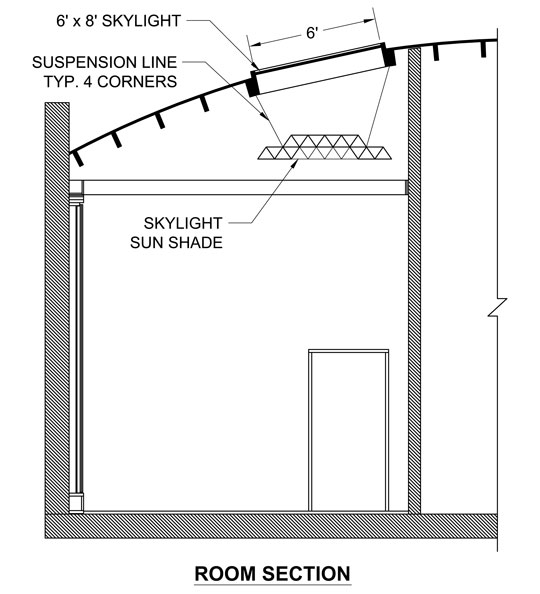
The purpose of the skylight sun shade is to block the direct sunlight that streams in through the 6’ x 8’ overhead glass skylight.
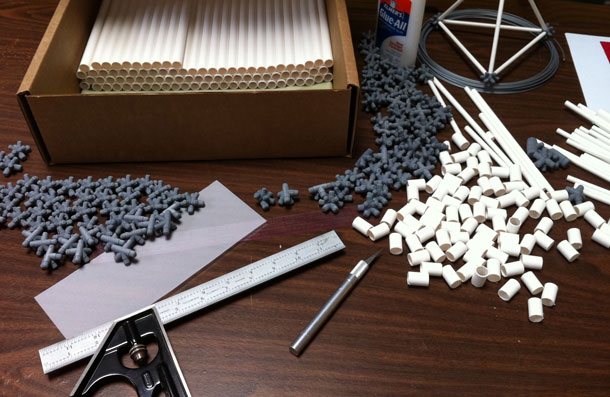
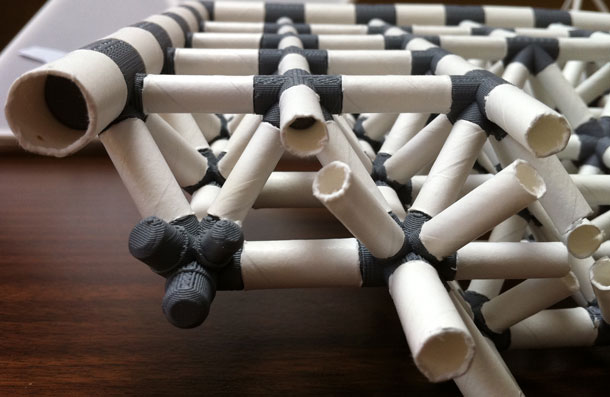
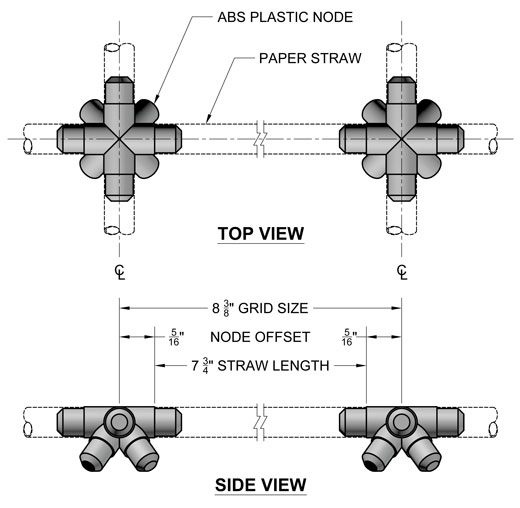
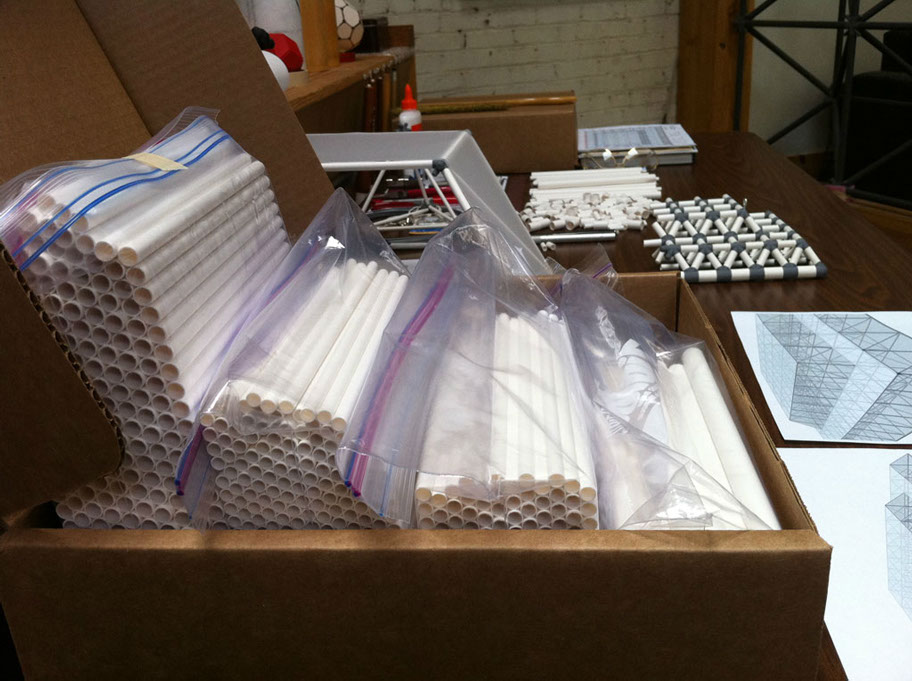
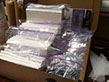
Paper drinking straws are very light weight and the spiral wrap construction makes them very strong in tension and compression. They can be purchased in bulk and are available in a variety of lengths and diameters. All the straws in this structure are 7 3/4” long, with four different straw diameters, ranging from 1/4” to 1/2”.
Total quantity of straws = 814.
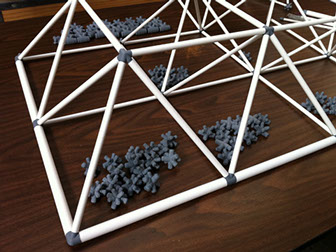
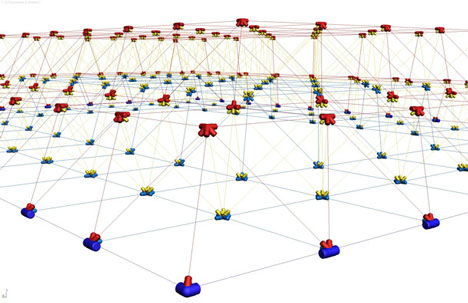
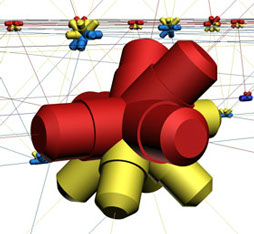
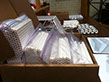
ABS plastic connectors are what makes all this possible. They are the intelligence that holds everything together. Almost all the design effort and cost was centered around the connectors. They’re fabricated with the Dimension 3D Printer. This amazing machine enables you to create reality from ideas. There are twelve different connector configurations for this structure.
Total quantity of connectors = 218.
Vellum paper skin is a white translucent paper, mainly used for architectural pen & ink drawings. Modern synthetic vellum paper is more dimensionally stable and transmits a much smoother diffusion of light. Sunlight is transformed into a soft, true white light that is pleasant to the eye. Cut from 9”x12”, 55 lb., neutral ph, vellum sheets.
Total quantity of vellum sheets = 105.
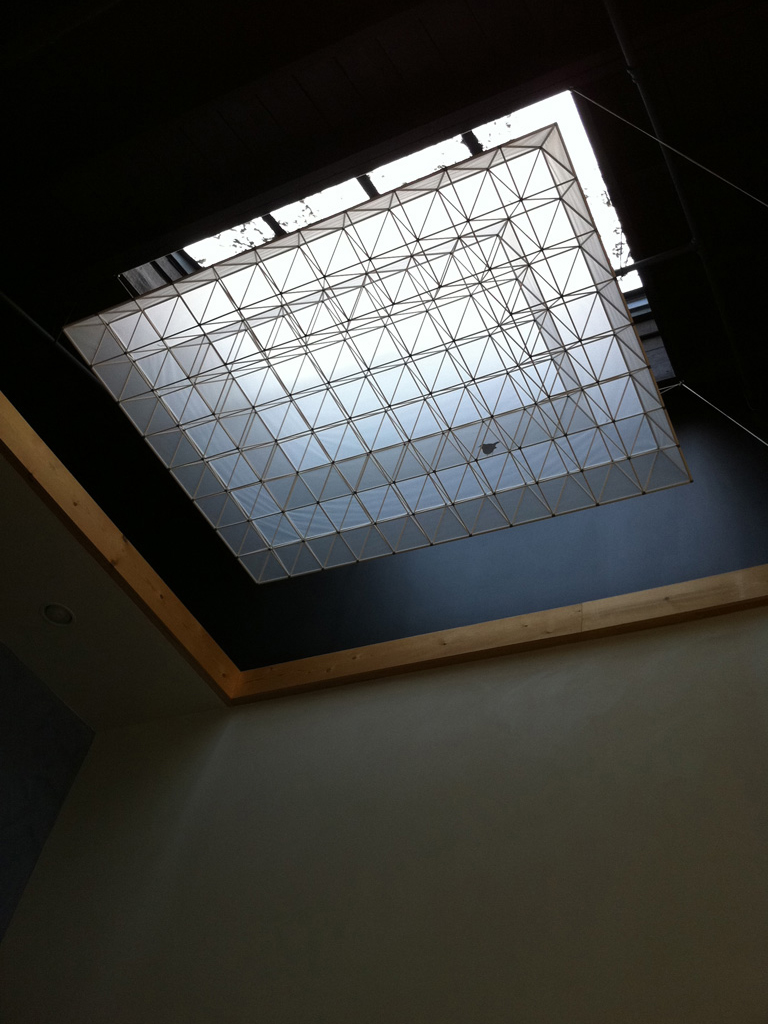
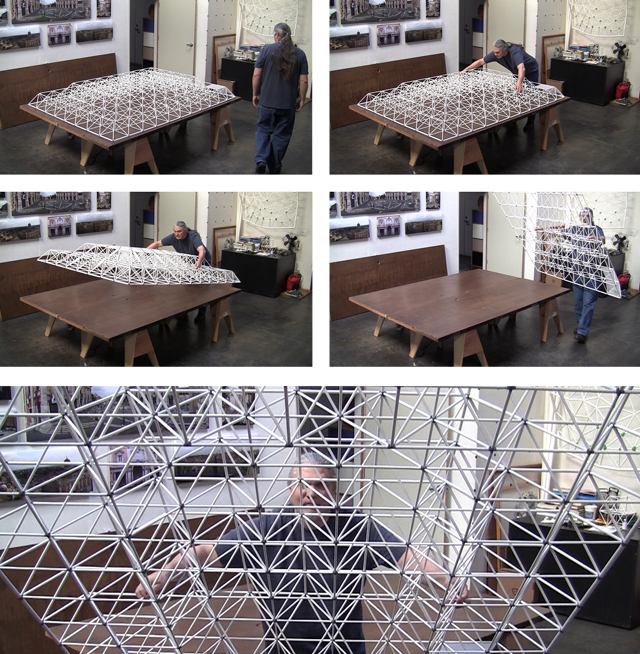
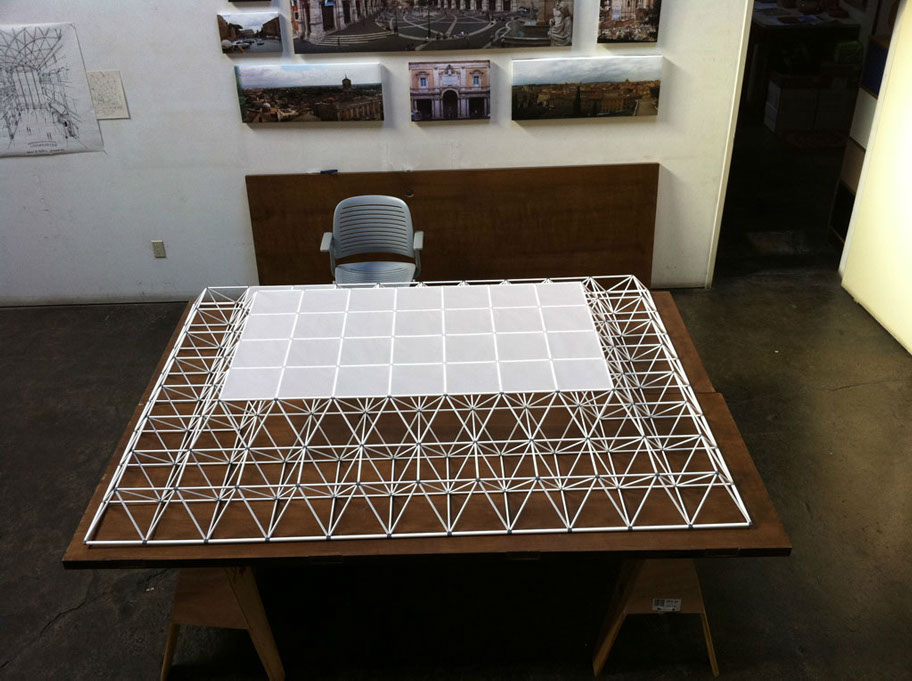
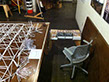
Skylight sun shade suspended below 6’x8’ glass skylight.
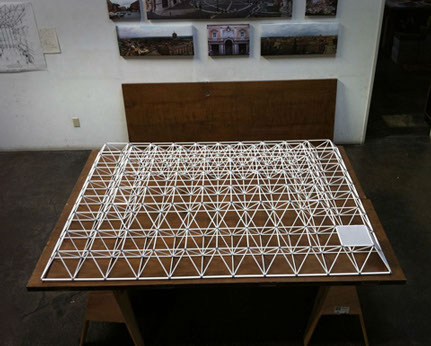
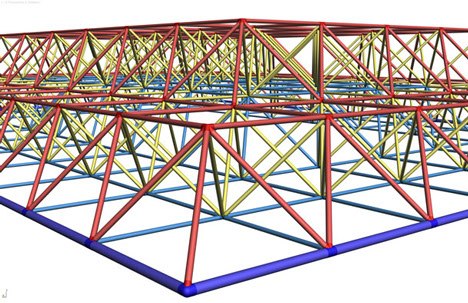
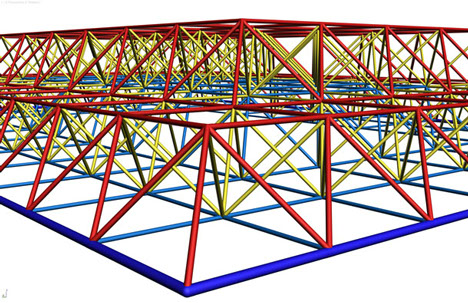
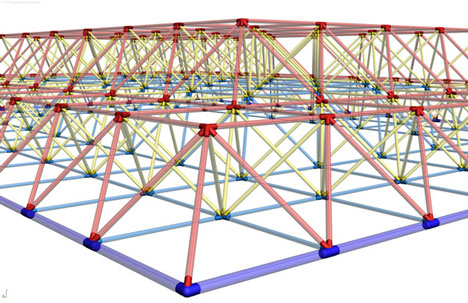
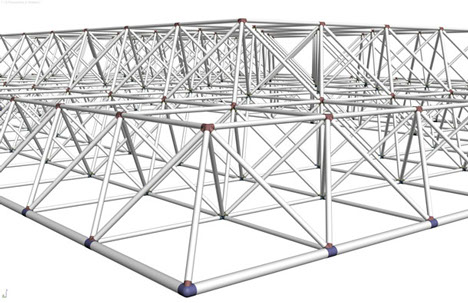
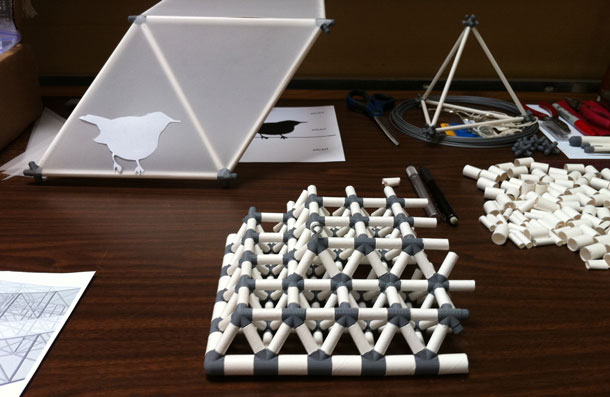
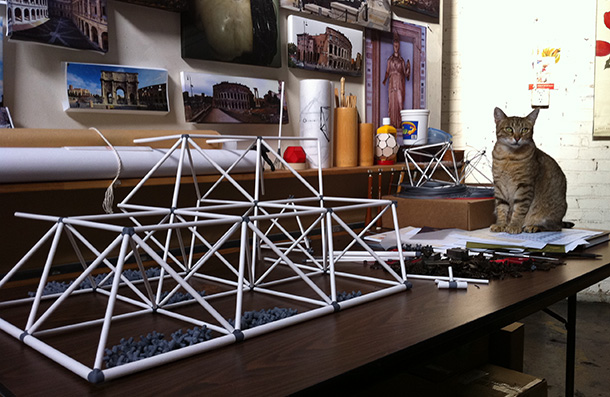
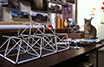
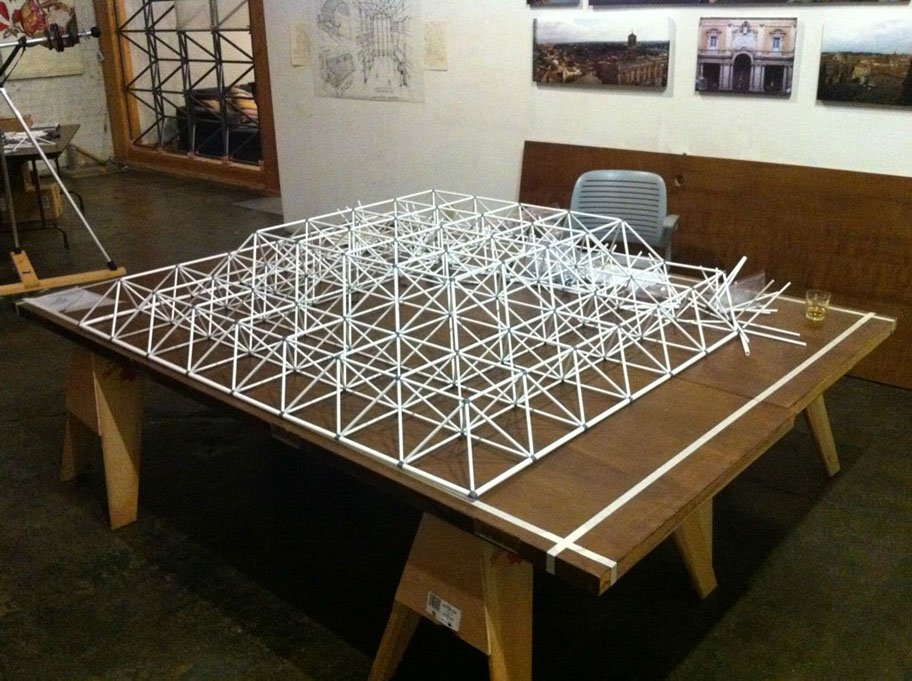
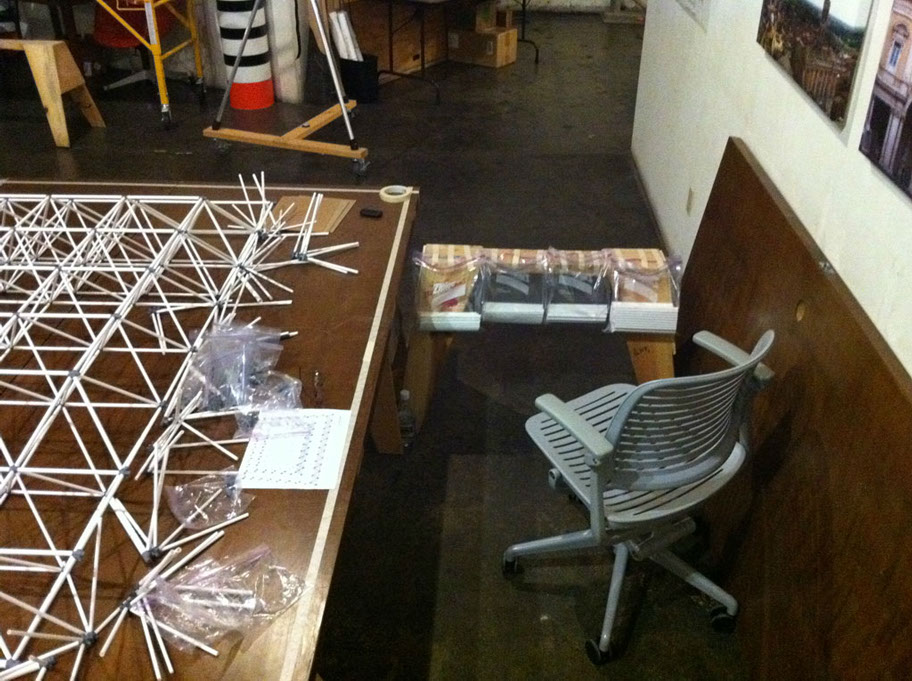
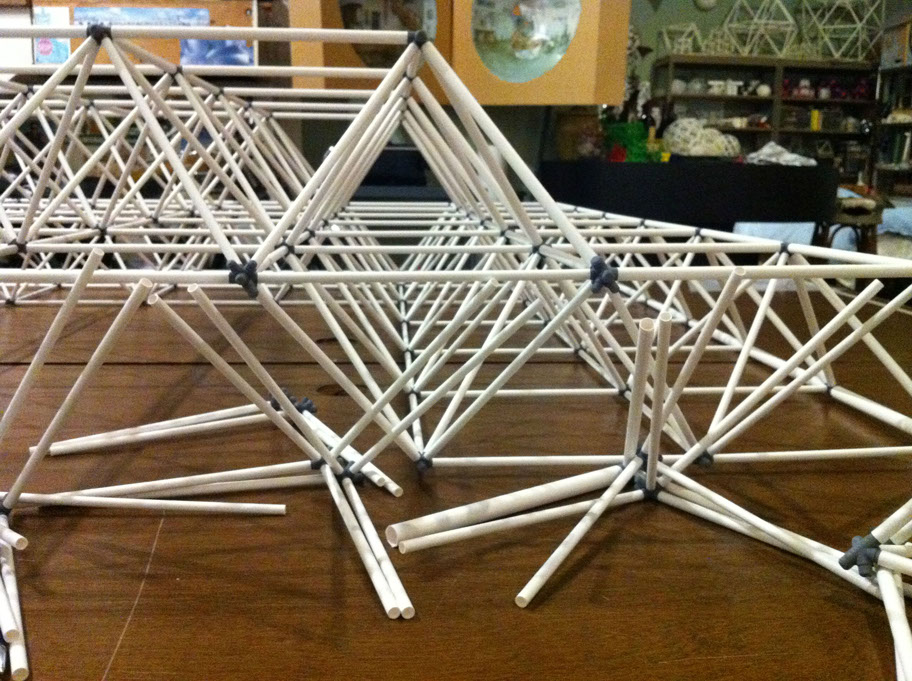
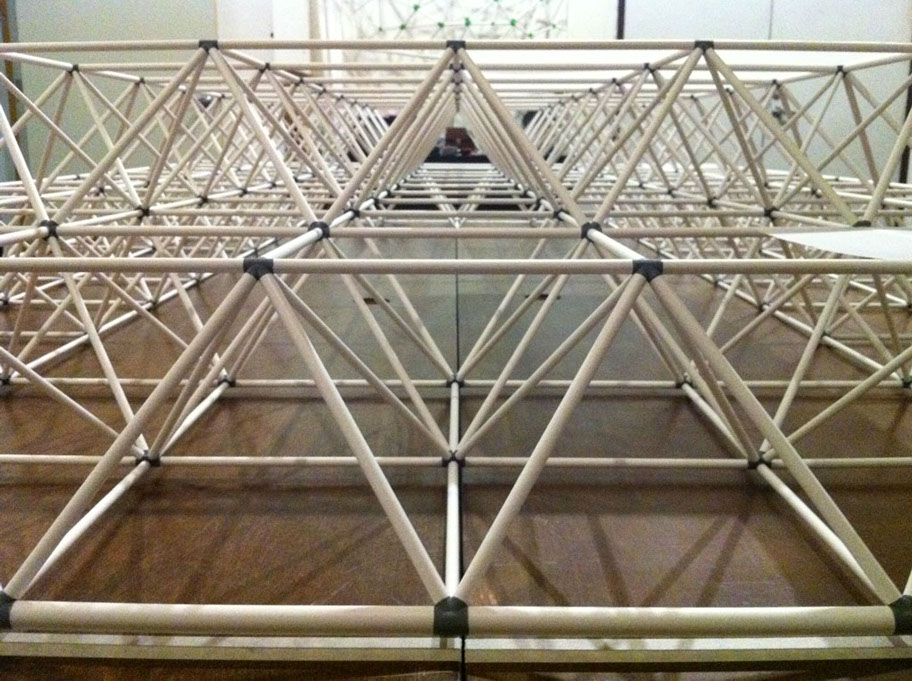
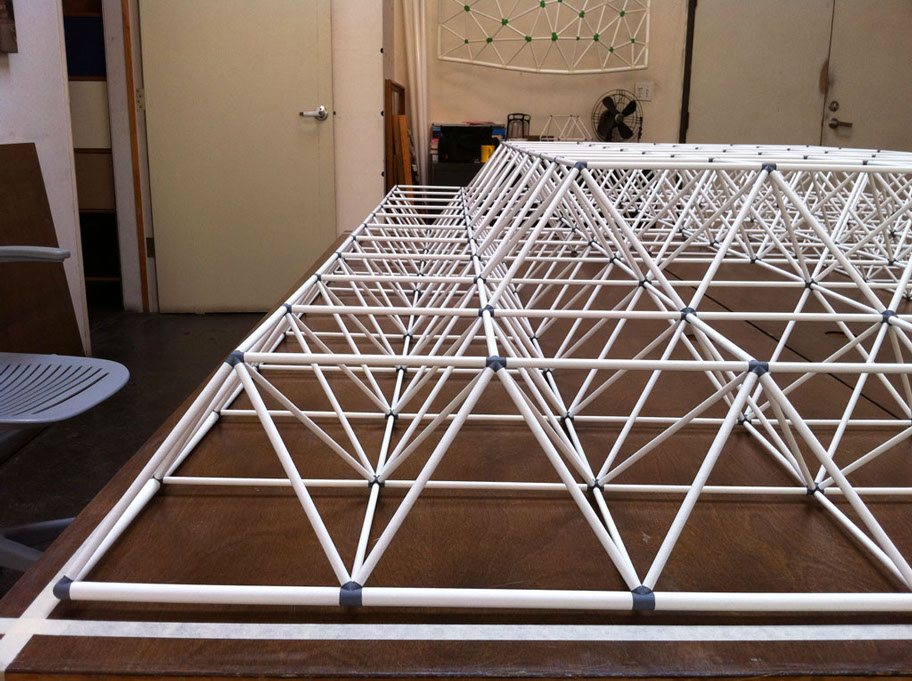
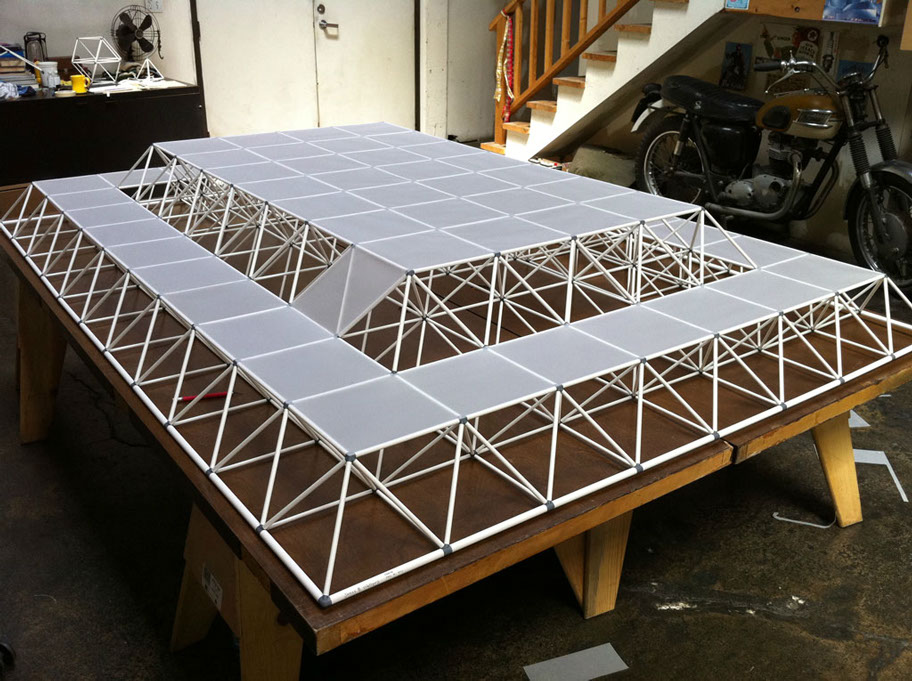
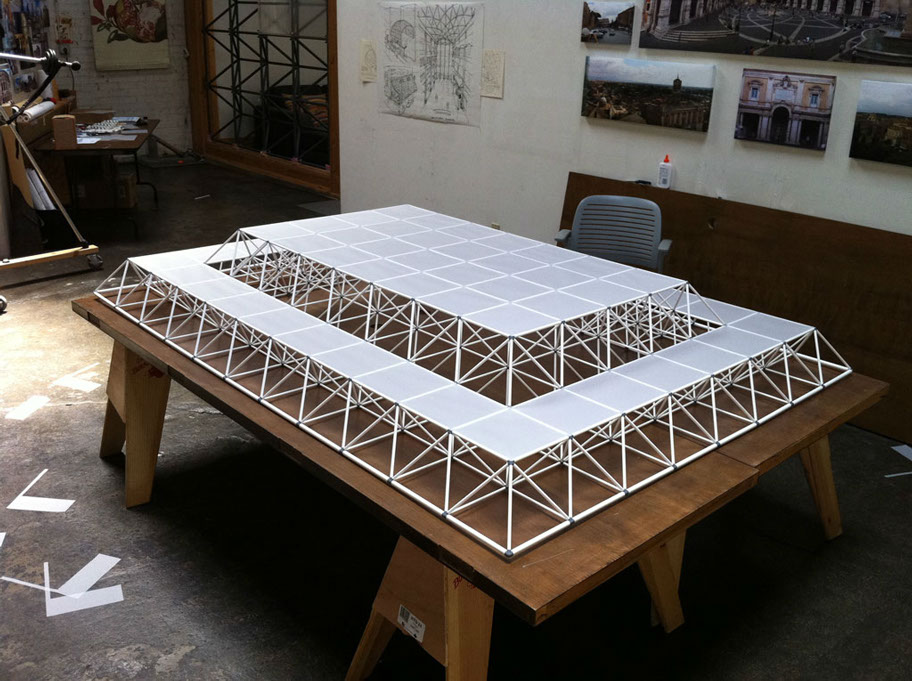
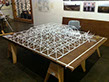
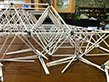
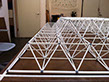
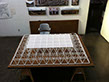
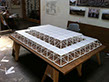
Paper straw space frame assembly complete.
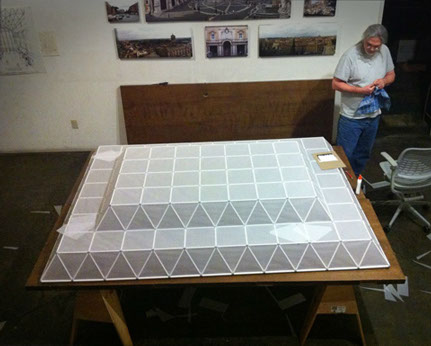
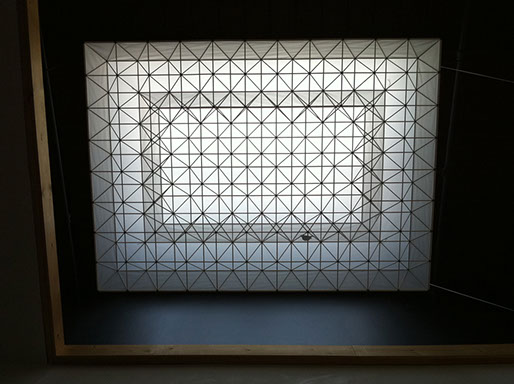
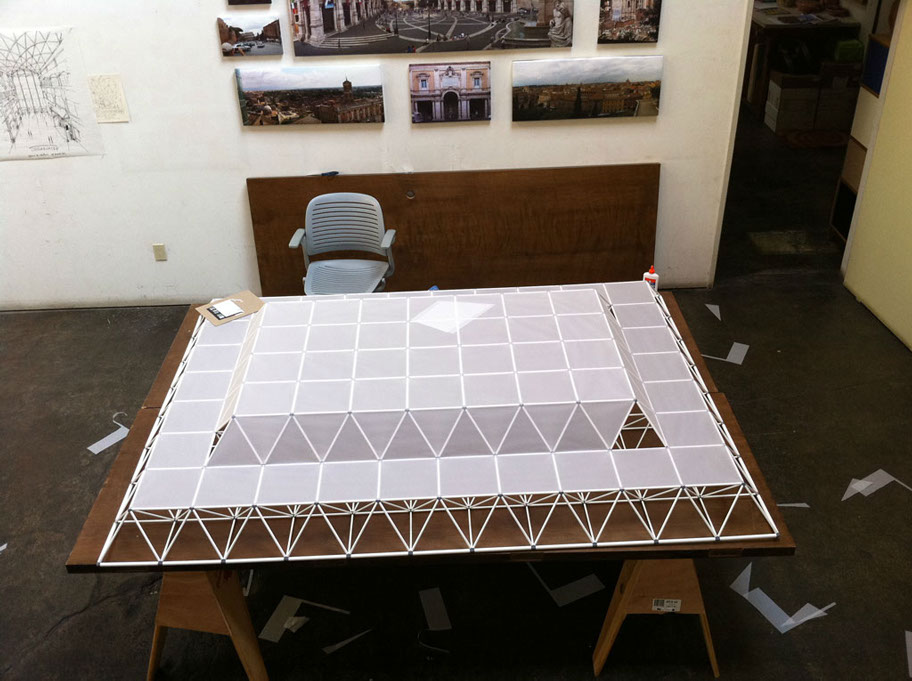
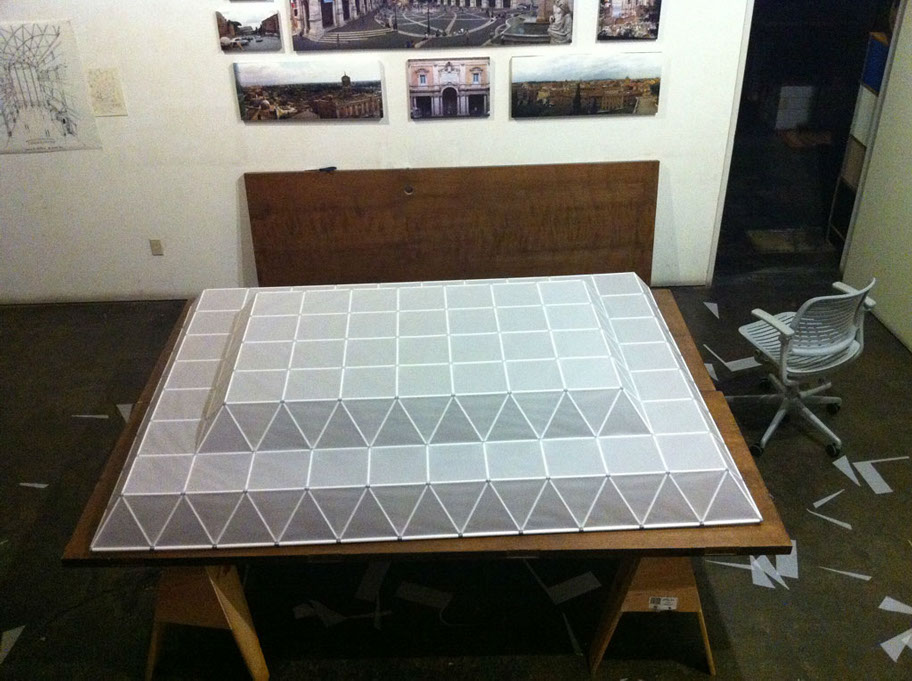
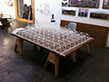
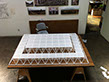
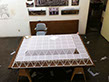
Space frame with vellum skin applied.
The goal was to fill the room with the full color spectrum of natural light in a soft diffuse light that is evenly distributed throughout the day.
The solution was to suspend this light weight space frame structure with vellum skin below the skylight. The structure was constructed using paper drinking straws, ABS plastic connectors and translucent vellum paper.
TOTAL WEIGHT with vellum is less than 5 lbs!
DESIGN PROCESS


The design process is the process of bringing a concept into reality. The process begins with an idea, a concept , something without size or dimension, even without mass. Then the conscious mind, another massless aberration, will direct a sequence of activities and events in order to manipulate particles, with mass, into an arrangement that interacts with the environment and can be perceive as "reality".
The most efficient way to formulate and give dimension to your idea is to develop it, visualize it and test it in a virtual environment.
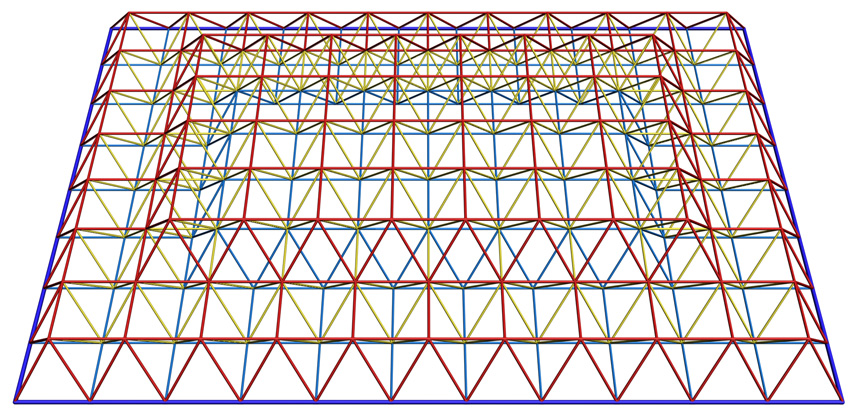
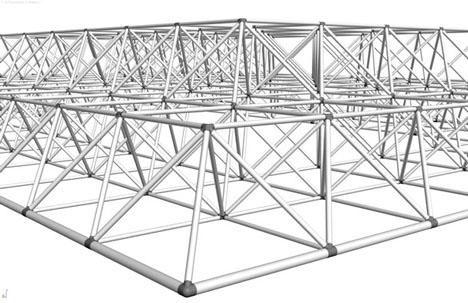
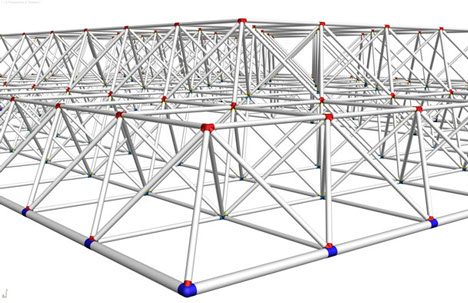
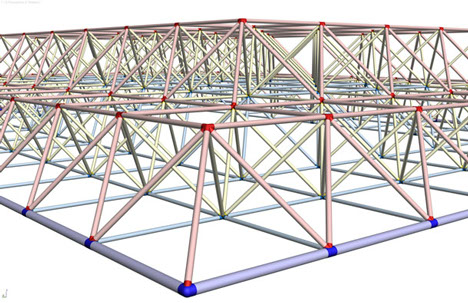
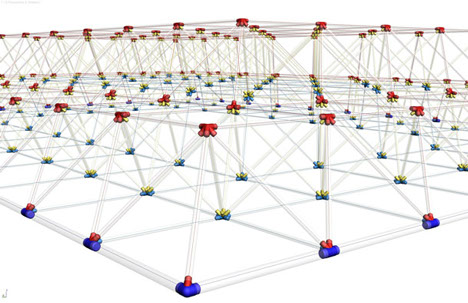
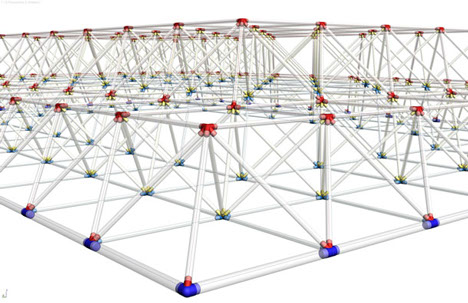
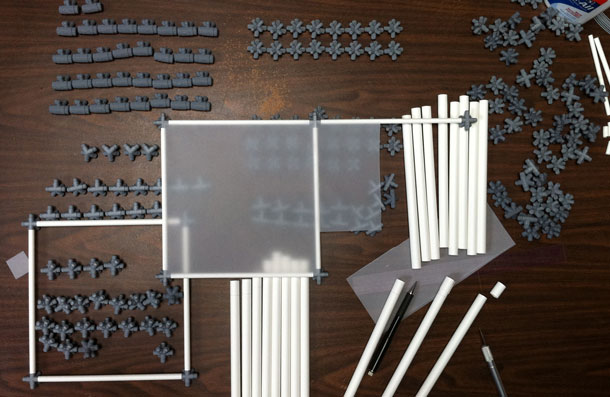
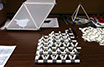
Assigning attributes to individual members is an essential part of the process. Working from a wire frame model of the geometry each member is assigned to a group that represent the different straw diameters. Color coding is used to distinguish and comprehend the location and quantities of the different groups. The sorted and labeled groups are then assigned specific attributes like the straw diameter, length and wall thickness.
Bill of materials are prepared and procured. The straws are factor cut and require little handling, they’re counted and set aside. The connectors are processed and saved out as individual STL files ready for the Dimension 3D Printer!
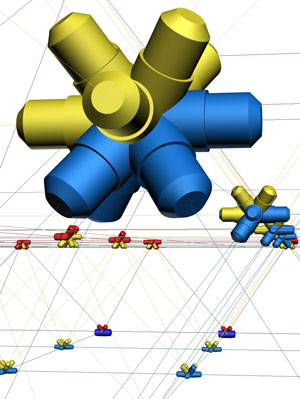
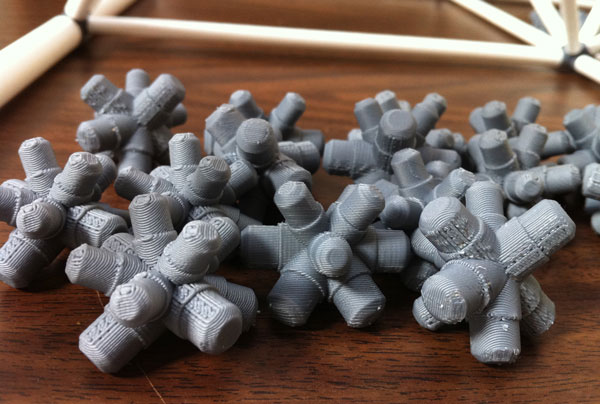
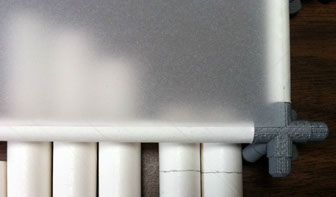
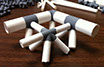
The Dimension 3D Printer is a (FDM) Fused Deposition Modeler. It extrudes 0.01” thick ABS plastic strands that are ironed one layer on top of another to create a 3d part. This close-up photo of the parts shows the orientation and layering typology.
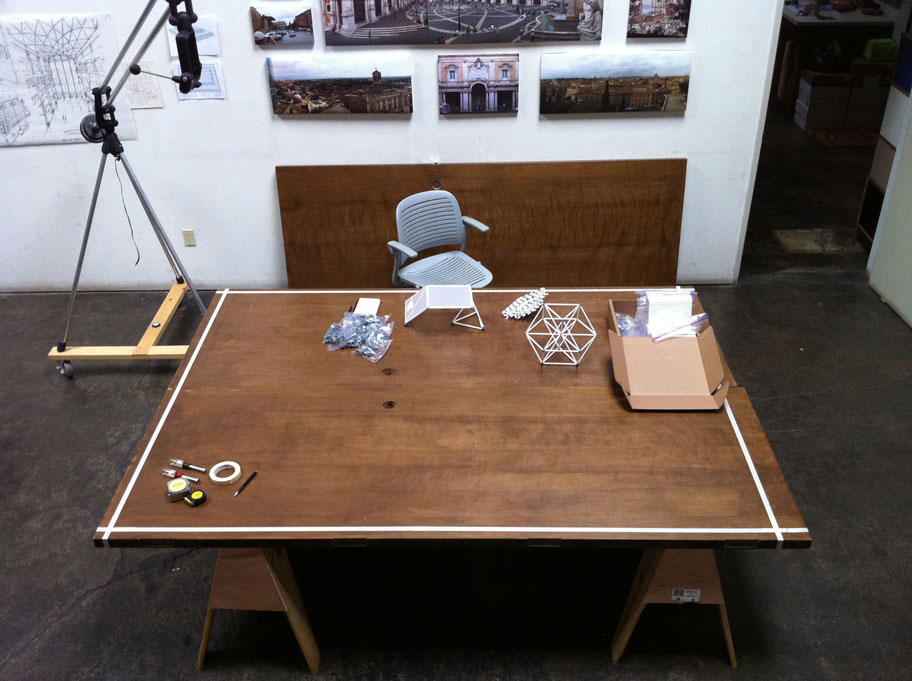
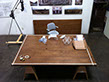
Testing and evaluating your design is on-going through out the design process, but there is a point when you get to test your design, for the first time, with real parts. This is a memorable and valuable part of the learning and decision making. It's also very satisfying and rewarding.


<
>
The design intentions of this space frame was governed by two predicating factors. One was the size of the skylight opening and the other factor was the size of the available straws.
Starting with the straws, I found 7 3/4” long white paper drinking straws in four different straw diameters. Not having any specific design in mind I purchased one box of each straw diameter size and made it a goal to incorporate all four straw diameters into the space frame.
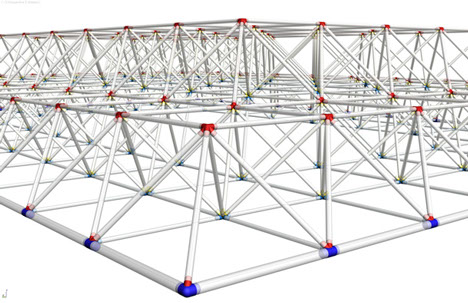
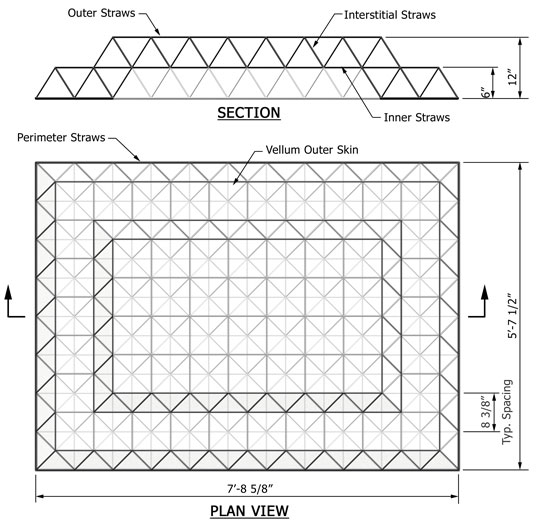
A square grid type was selected. Then working from the straw length of 7 3/4” a node offset of 5/16” was added to each end resulting in a grid size of 8 3/8”.
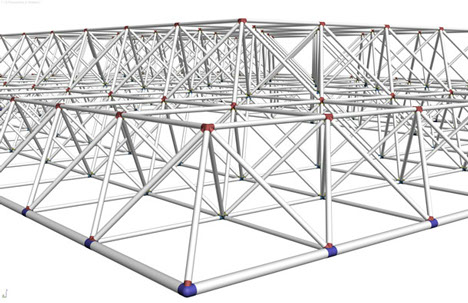
Once the grid type was selected and the grid size was determined it was time to design the look of the structure. The overall size of the space frame that most resembled the skylight opening was 11 bays x 8 bays, with a typical bay size of 8 3/8”. The stepped pyramid second layer was included to add interest to the form, and partly just for the design challenge.
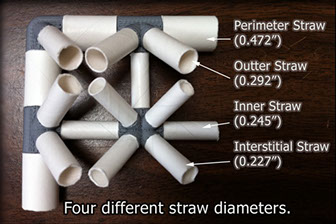
Four groups of straws were established and assigned the following diameters:
1. Perimeter straws (0.472” dia.)
2. Outer straws (0.292” dia.)
3. Inner straws (0.245” dia.)
4. Interstitial straws (0.227” dia.)
DESIGN INTENTIONS
Use Photography In The Design Process...
Use Photography To Document The Design Process...
Sun Shade Test Assembly
May 2, 2011
This is a test assembly for a skylight sunshade I made with paper drinking straws. The sunshade uses 5 3/4" long straws, the test assembly uses 1" long straws. Watch the Sunshade Assembly video to see the full scale structure.... Thanks for watching...
01:00
Skylight Sun Shade Assembly
May 15, 2011
This the a documentary video of the assembly of a 6' x 8' space frame structure made with paper drinking straws and ABS plastic nodes then skinned with paper vellum.... Thanks for watching...
08:41


<
>
PHOTO GALLERY